

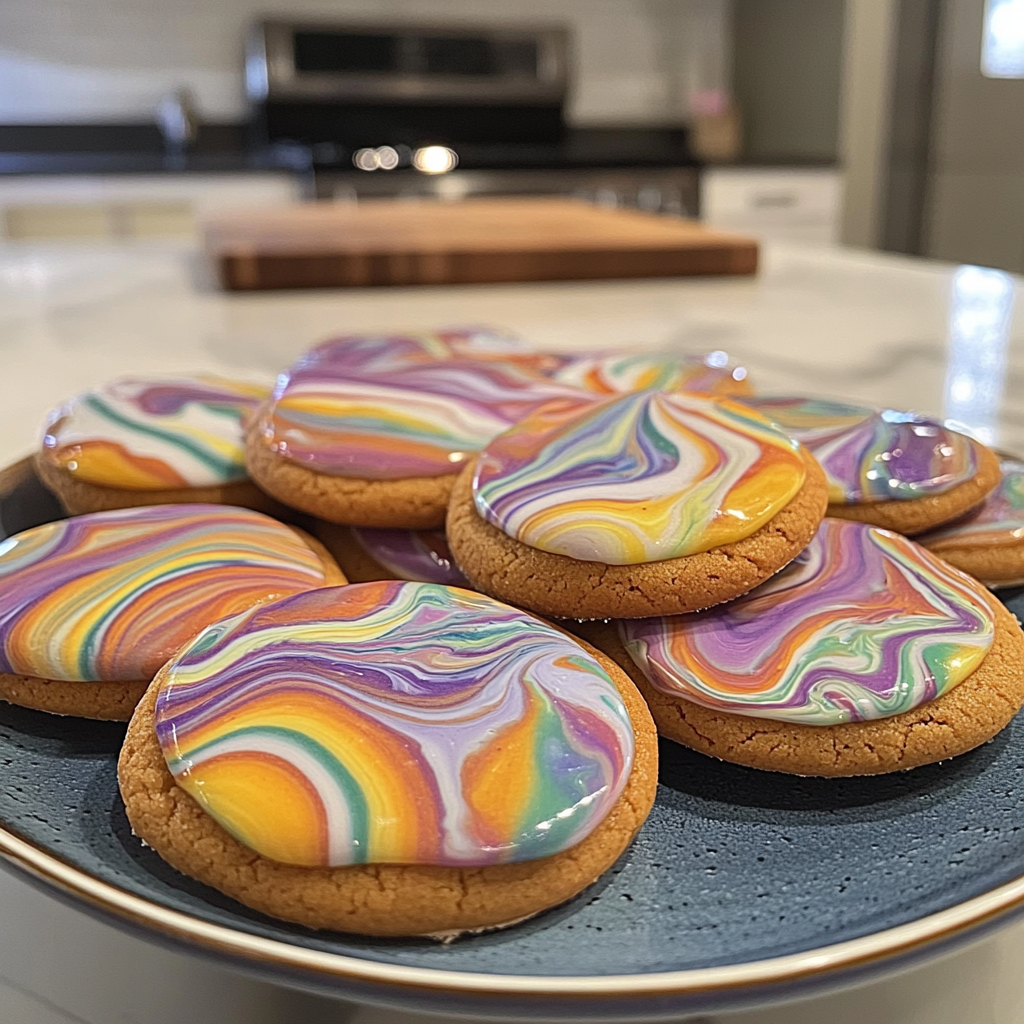
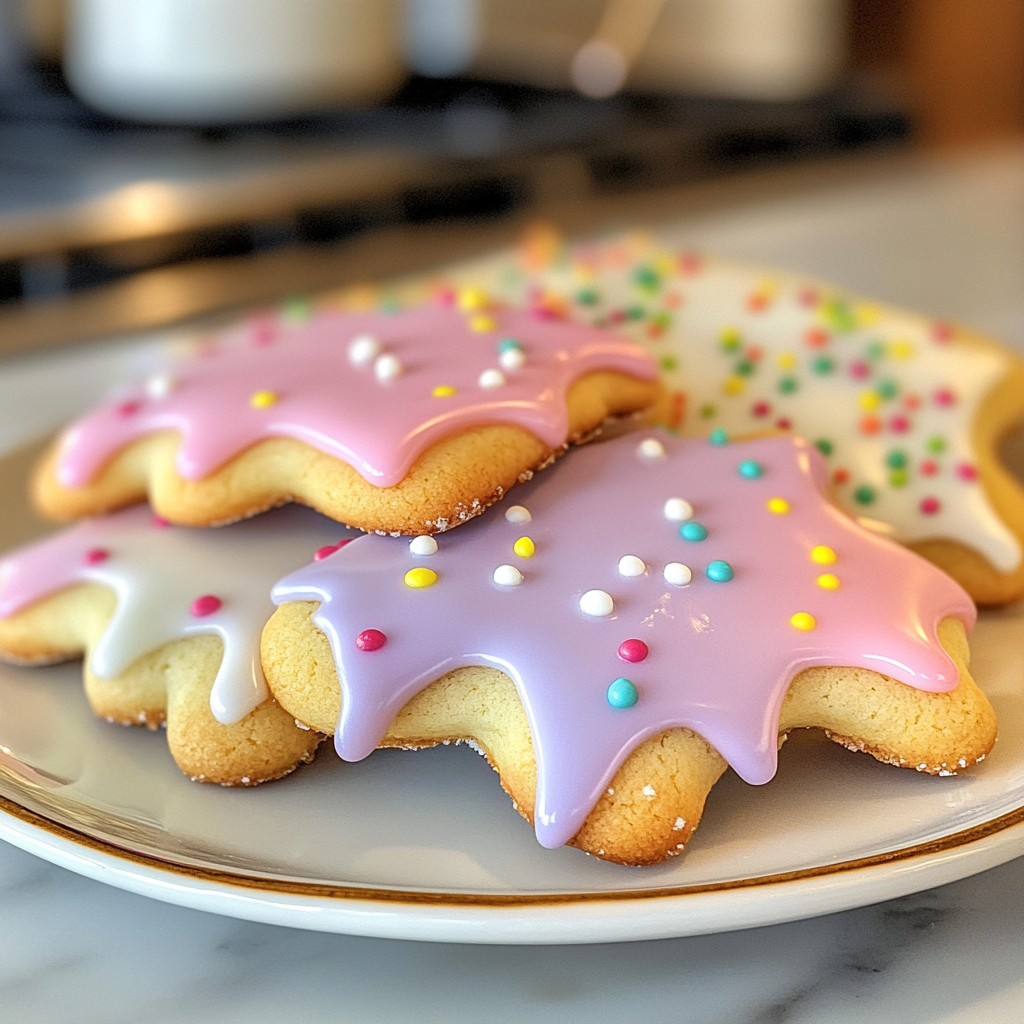
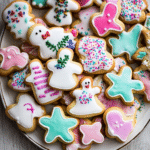
There is something magical about Royal Icing Cookies that makes them a centerpiece at every festive gathering. Imagine colorful sprinkles dancing on a sweet, buttery canvas while the aroma of freshly baked cookies fills the room. sweet marshmallow cookies These delightful treats are perfect for any occasion, from birthday parties to holiday celebrations, promising a burst of sweetness with each delightful bite. mini chocolate peanut butter pies peanut butter cookies.
As I prepared to bake these royal icing wonders, I couldn’t help but recall the first time I attempted this art. My kitchen turned into a chaotic masterpiece, flour flying everywhere like confetti at a parade! But seeing my friends’ faces light up as they tasted my creations made all the mess worthwhile. Get ready to dive into a cookie adventure that will not only satisfy your sweet tooth but also bring joy to your loved ones! For more inspiration, check out this magical oat flour pie crust recipe.
[info_box title=”Why You’ll Love This Recipe”] The Royal Icing Cookies are easy to prepare and perfect for any festive occasion. Their vibrant colors and intricate designs make them visually stunning. Enjoy customizing flavors and decorations based on your preferences or seasonal themes. These cookies can also double as delightful gifts for friends and family! [/info_box]
I remember my niece’s eyes widening in disbelief as she watched me decorate these cookies like a pro (well, sort of).

Essential Ingredients
Here’s what you’ll need to make these delicious Royal Icing Cookies:
-
All-Purpose Flour: A staple ingredient; ensure it’s fresh and sifted for the best texture in your cookies.
-
Granulated Sugar: Use fine sugar to achieve that perfect sweetness without any graininess.
-
Unsalted Butter: Always opt for unsalted butter; it allows you to control the saltiness in your dough.
-
Eggs: Use large eggs for optimal results; they add richness and moisture to your dough. For more inspiration, check out this deviled eggs recipe recipe.
-
Baking Powder: This helps your cookies rise beautifully; ensure it’s fresh for maximum effect.
-
Vanilla Extract: Pure vanilla extract enhances flavor significantly; skip synthetic versions for better taste.
-
Powdered Sugar: Essential for royal icing; sift it before use to avoid lumps and ensure smooth frosting.
-
Water or Milk: Helps achieve the right consistency for your royal icing; adjust as needed based on humidity.
-
Food Coloring (Optional): Use gel food coloring for vibrant shades that won’t alter the consistency of your icing.
The full ingredients list, including measurements, is provided in the recipe card directly below.
Let’s Make it together
Prepare Your Dough: Start by preheating your oven to 350°F (175°C). In a large bowl, beat together butter and sugar until creamy and fluffy—about 3-5 minutes will do.
Add Wet Ingredients: Mix in eggs one at a time, then stir in vanilla extract until well combined. The batter should be smooth and aromatic.
Combine Dry Ingredients: In another bowl, whisk together flour and baking powder. Gradually add this dry mixture to the wet ingredients until just combined—watch out for overmixing!
Shape Your Cookies: Roll out dough on a floured surface to about ¼ inch thickness. cinnamon roll cake pops Use cookie cutters to create fun shapes. Place them on parchment-lined baking sheets.
Bake Them Up!: Bake cookies in the preheated oven for 8-10 minutes or until edges start turning golden. Let them cool completely before decorating—the moment you’ve been waiting for!
Create Royal Icing: In a mixing bowl, combine powdered sugar with water or milk until smooth. Adjust consistency by adding more liquid if necessary—aim for a pourable yet thick texture.
Decorate to Impress!: Transfer icing into piping bags (or zip-top bags with corners snipped off) and unleash your creative side by decorating cooled cookies! Allow icing to dry completely before stacking or serving.
Now that you have created these delightful Royal Icing Cookies, you’re set for compliments from family and friends alike! The laughter-filled memories around baking will surely linger long after these sweets are devoured. Happy baking!
[info_box title=”You Must Know”] Royal Icing Cookies are not just delicious; they are a canvas for creativity! Perfect for celebrations, these cookies will have everyone asking for the recipe. With vibrant colors and intricate designs, they can elevate any event and are surprisingly easy to make. [/info_box]
Perfecting the Cooking Process
The best sequence is to prepare the dough first, chill it, then roll and cut shapes while preheating your oven. This ensures your cookies bake evenly and hold their shape.
Add Your Touch
Try swapping out vanilla extract for almond extract or adding lemon zest to the icing for a zesty twist. Personalize your cookies to match any occasion with different colors and shapes.
Storing & Reheating
Store decorated cookies in an airtight container at room temperature for up to a week. If you’d like them to last longer, freeze them un-decorated for up to three months.
[info_box title=”Chef’s Helpful Tips”] To create beautifully decorated Royal Icing Cookies, ensure your icing is the right consistency—too thin will run off the cookie. Practice piping on parchment paper first to perfect your technique. Remember, patience is key when letting icing dry completely! [/info_box]
Sharing my first attempt at Royal Icing Cookies still makes me smile; my friends were amazed, even though I had accidentally dyed my hands a lovely shade of blue!
FAQ
How long do Royal Icing Cookies last?
Royal Icing Cookies can last up to one week if stored properly in an airtight container.
Can I use gel food coloring?
Yes, gel food coloring works great for achieving vibrant shades without altering the icing’s consistency.
What consistency should royal icing be?
Aim for a medium consistency that flows smoothly but holds its shape when piped onto cookies.
Indulge in Royal Icing Cookies: A Festive Delight
- Total Time: 30 minutes
- Yield: Approximately 24 cookies 1x
Description
Royal Icing Cookies are a charming addition to any celebration, combining sweetness with beautiful designs. These cookies are perfect for birthdays, holidays, or just because! With their buttery flavor and vibrant icing, each bite is a treat that brings joy to your gatherings. Ready to impress your friends and family with your baking skills? Let’s create something magical together!
Ingredients
- 2 ¾ cups all-purpose flour
- 1 cup granulated sugar
- 1 cup unsalted butter, softened
- 2 large eggs
- 1 tsp baking powder
- 2 tsp vanilla extract
- 4 cups powdered sugar
- 4 tbsp water or milk (adjust as needed)
- Gel food coloring (optional)
Instructions
- Preheat oven to 350°F (175°C).
- In a large bowl, beat together butter and granulated sugar until creamy.
- Mix in eggs one at a time and stir in vanilla until smooth.
- Whisk together flour and baking powder in another bowl; gradually add to wet ingredients until just combined.
- Roll dough on a floured surface to about ¼ inch thick; cut into shapes and place on parchment-lined sheets.
- Bake for 8-10 minutes until edges are golden; cool completely.
- For royal icing, combine powdered sugar with water or milk until smooth; adjust consistency as needed.
- Decorate cooled cookies using piping bags; allow icing to dry before serving.
- Prep Time: 20 minutes
- Cook Time: 10 minutes
- Category: Dessert
- Method: Baking
- Cuisine: American
Nutrition
- Serving Size: 1 cookie
- Calories: 150
- Sugar: 10g
- Sodium: 60mg
- Fat: 7g
- Saturated Fat: 4g
- Unsaturated Fat: 3g
- Trans Fat: 0g
- Carbohydrates: 21g
- Fiber: <1g
- Protein: <1g
- Cholesterol: 20mg

Leave a Comment